
The Ultimate Guide to Freshly Milled Gluten Free Flour
Milling your own Gluten Free Flour Blend

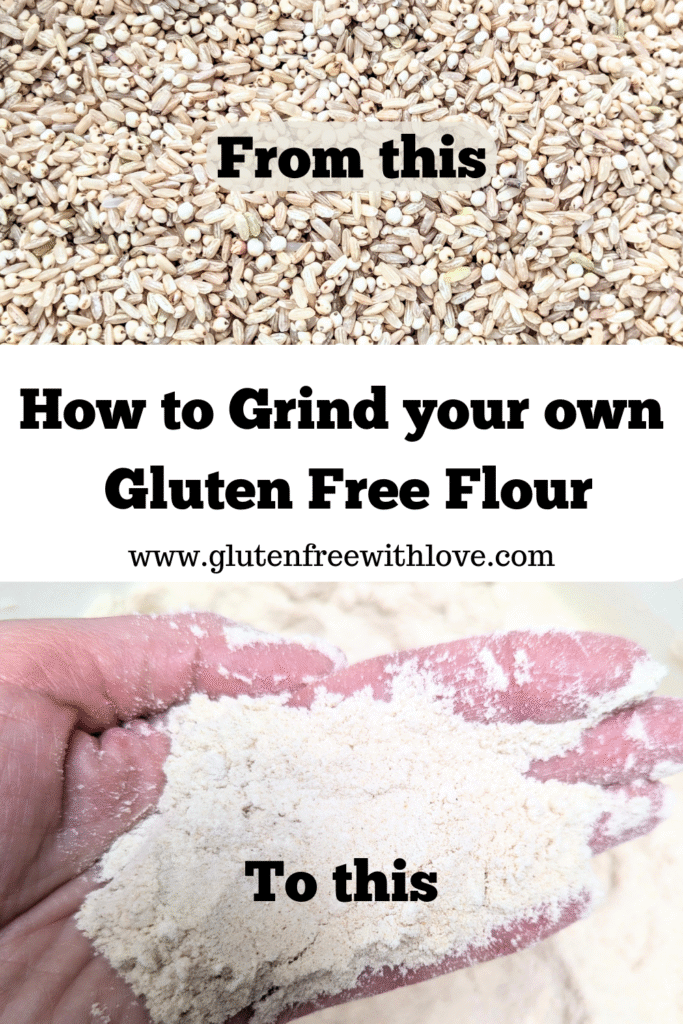
Grinding your own healthy gluten free grain to make flour is easier than you think! I’ve been freshly milling my own gluten free flour with amazing results and flavor. Not to mention that it’s loaded with nutrition! Since it’s made with whole grain flour, it has fiber (good for blood sugar and insulin resistance since it contains the bran, germ and endosperm of the grain). Plus, it is a good source of Magnesium (most of us are deficient in Magnesium), Thiamin (B1), Niacin (B3), Pyridoxine (B6), Pantothenic acid (B5), iron, Phosphorus, Zinc, Copper, Potassium, Manganese and Selenium. Talk about nutritious! Gluten free can get a bad reputation of being void of nutrition given that it is often rice-based and not fortified (though even fortified flour is still void of most vitamins and minerals). The BEST way to get the vitamins and minerals directly from the flour is to mill it fresh with a grain mill. But, how do you do that? I’ll teach you!
Where do I start?
If you are interested in grinding your own gluten free grain, you can use a vitamix or grain mill. I personally have a Nutrimill (I’m not an affiliate for them, I just love it). I use it whenever I am baking, which is pretty much. Within 5-10 minutes, I have cups of fresh, healthy and aromatic flour to use for my recipes. It smells so good!! I usually mill about 4 cups of grains at a time. If you are not at the point to grinding your own flour, skip to “the BEST Gluten free flour mixture section” and you’ll find a great flour recipe that works for basic baking (bread, muffins, brownies, etc).
What gluten free grains are the best to grind?
The best gluten free grains to mill are brown rice (long, medium or short grain), white rice, millet and sorghum. A combination of these grains is best. I prefer brown rice (long grain or medium grain) because of the nutritional complexity and fiber. I also use sorghum in combination with the rice. I mill these in a 1 to 1 ratio, half brown rice and half sorghum. If I’m out of sorghum, I will just use brown rice. You will need to mix these grains with a starch (tapioca starch or potato starch), but these you will not grind in the grain mill.
How long will they stay fresh?
Ideally, you will want to use your freshly milled flour within 1-2 weeks. Because it contains the bran, germ, and endosperm, it does not have a long shelf life like the prepackaged flour from the store and will become rancid after 2 weeks. That being said, milling about the amount you need for the recipe is the best option or knowing you will be baking and using it up within the week, will ensure you get the most out of your flour. I’ve personally never had any flour go rancid, because I only grind small-ish amounts of flour, usually about 6 cups, at a time and bake with it nearly every day.
Does grinding your own gluten free flour save money?
Yes! It’s a huge money-saver! Premade gluten free flour mixtures can be VERY expensive, especially if you want to use organic grains. I buy 25 lb bags of organic brown rice and 25 lb bags of organic sorghum from Azure Standard. As long as I have rice or sorghum, I can make nearly anything! I also love the convenience of always having the ability to get fresh flour in just minutes! Yes, it is an extra step to grind it, but once you get into the habit, it’s really not a big deal. Milling is a fast process with the nutrimill, usually only 5 minutes to do 4 cups of grain.
The BEST Gluten Free flour mixture:
For making your own gluten free flour mixture you need 2 parts grain (like brown rice, white rice, millet, and sorghum) and 1 part starch (tapioca starch/tapioca flour and potato starch). If you are also avoiding nightshades (like me), do not use potato starch, use the tapioca starch.
My recipe: 1 part brown rice flour, 1 part sorghum and 1 part tapioca starch. In a recipe that calls for 3 cups of flour, this would be 1 cup of brown rice flour, 1 cup sorghum and 1 cup tapioca starch (plus xanthan gum). In a pinch you can do 2 cups of brown rice flour and 1 cup tapioca starch (plus xanthan gum).
This recipe works best for muffins, quick breads, sourdough, yeast breads, brownies.
Cake flour recipe:
For cakes you want more starch for added fluffiness. Use equal parts grain and starch, meaning if the recipe calls for 2 cups of flour, you will use 1 cup brown rice flour and 1 cup tapioca starch, plus xanthan gum.
What about Xanthan Gum?
Yes, you will need to add xanthan gum to your flour mixture. For every 1 cup of flour, add 1/2 tsp of xanthan gum to the recipe. If the recipe says 2 cups of flour, add 1 tsp of xanthan gum to the batter/dough. Xanthan gum is a binder that helps gluten free flours to act more like gluten in a recipe.
Don’t have a grain mill?
If you don’t have a grain mill, you can still use my ratio recipe by buying brown rice flour that’s already ground and tapioca starch. If you can tolerate potatoes, you can use potato starch instead of tapioca starch. I personally cannot eat the nightshade vegetables, so I avoid using potato starch.
I hope you love the simplicity of knowing the ratio for grain to starch and converting any recipe to making it gluten free!


